Are you missing special threads in the toolbox or hole wizard?
This guide shows you the steps to create new standards in the toolbox.
Note: Standards are managed separately in the toolbox for the hole wizard and for components. When you create the standard in the hole wizard, this standard is also displayed for the toolbox parts.
Start the toolbox / hole configurator
To edit the hole wizard settings, start the toolbox settings wizard.
- from SOLIDWORKS
Options > System Options > Hole Wizard/Toolbox > Configure

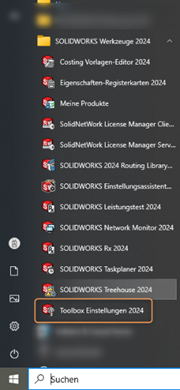
- from the Windows Start Menu
Copy standard (recommended)
It is advisable to create your own "factory" standard for new or customized toolbox elements. This has the advantage that the standard elements remain untouched, if problems arise with the new settings or sizes (especially in the test phase), and you can always be productive.
- Once you have opened the settings wizard, go to "Page 1 - Hole Wizard"

- Select a source standard (e.g. DIN) and then click on the double folder in the main window.

- Before the tool creates a copy of this source standard, you can give it your own name:

As soon as the new standard has been created, you can start modifying the individual thread types. Read our guide
Erstellen einer benutzerdefinierten Gewindegröße für den Bohrungsassistenten
We hope we have been able to give you a little insight into how Toolbox / Hole Wizard works and wish you every success in your work with SWX.